


Getting started on Netlify
Netlify is an all-in-one platform for running web projects. This means you can use Netlify for hosting most if not all your web projects. Netlify is simple to use and setup which works perfectly when you have a basic website you want to get up and open for the world to use quickly.
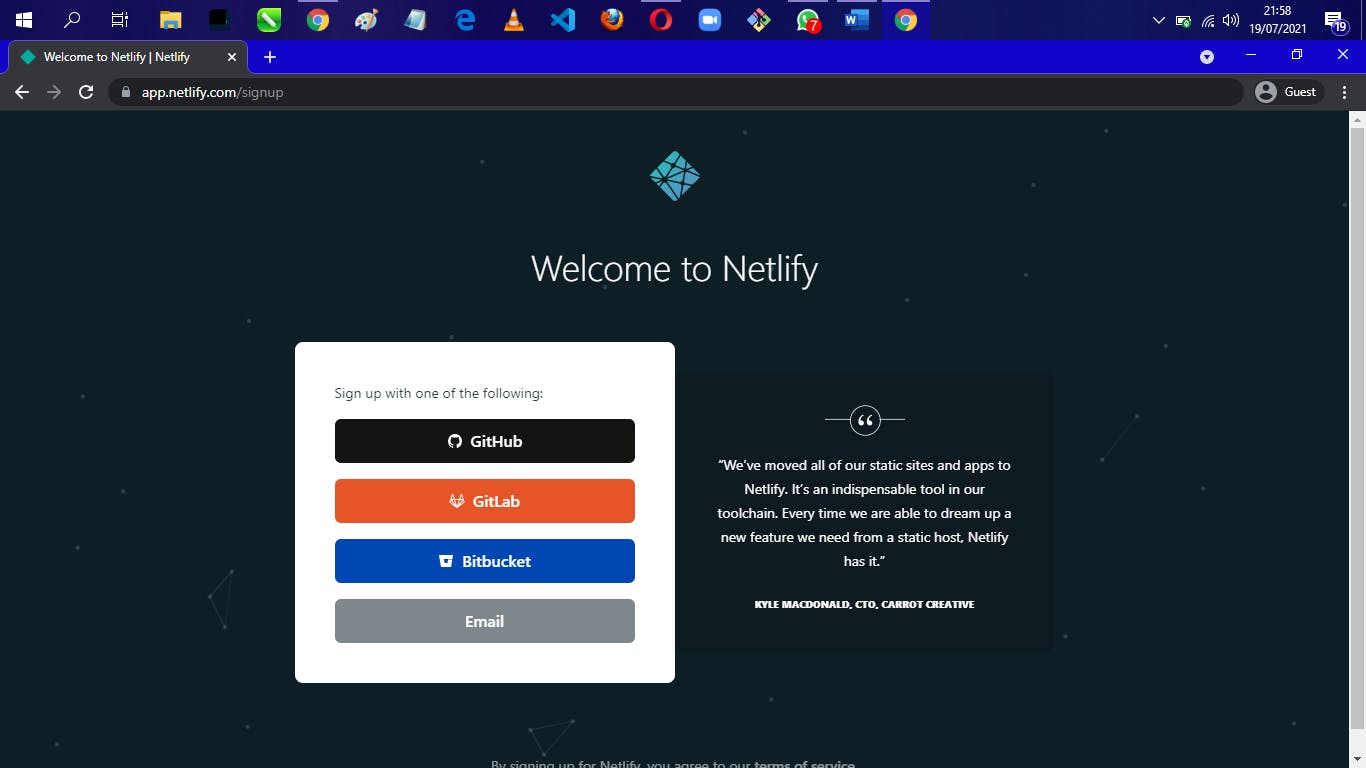
In this section, i will show you how easy it is to launch your site on Netlify. If you are not already a Netlify user, go ahead and sign up for free here first.
Step 1: Add Your New Site
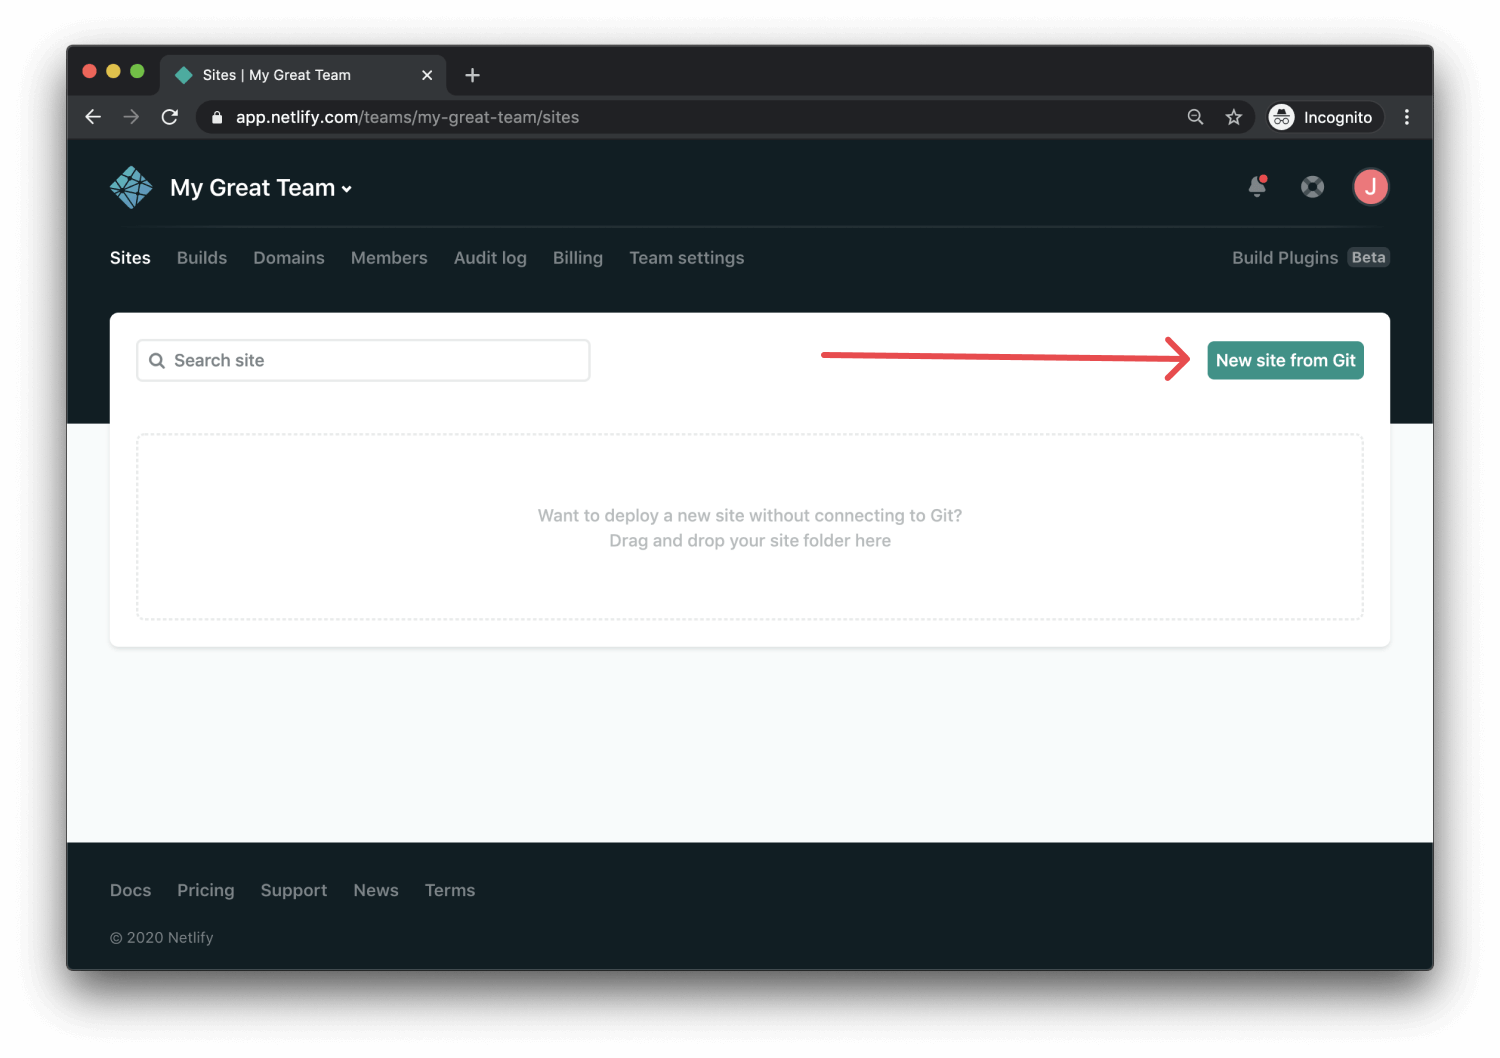
Creating a new site on Netlify is simple. Once you’ve logged in, you’ll be taken to app.netlify.com. If you’re just starting out, there’s only one option, Click the Add A New Project button shown above.
Step 2: Link to Your GitHub (or supported version-control tool of choice)
Clicking “Add A New Project” brings you to this screen:
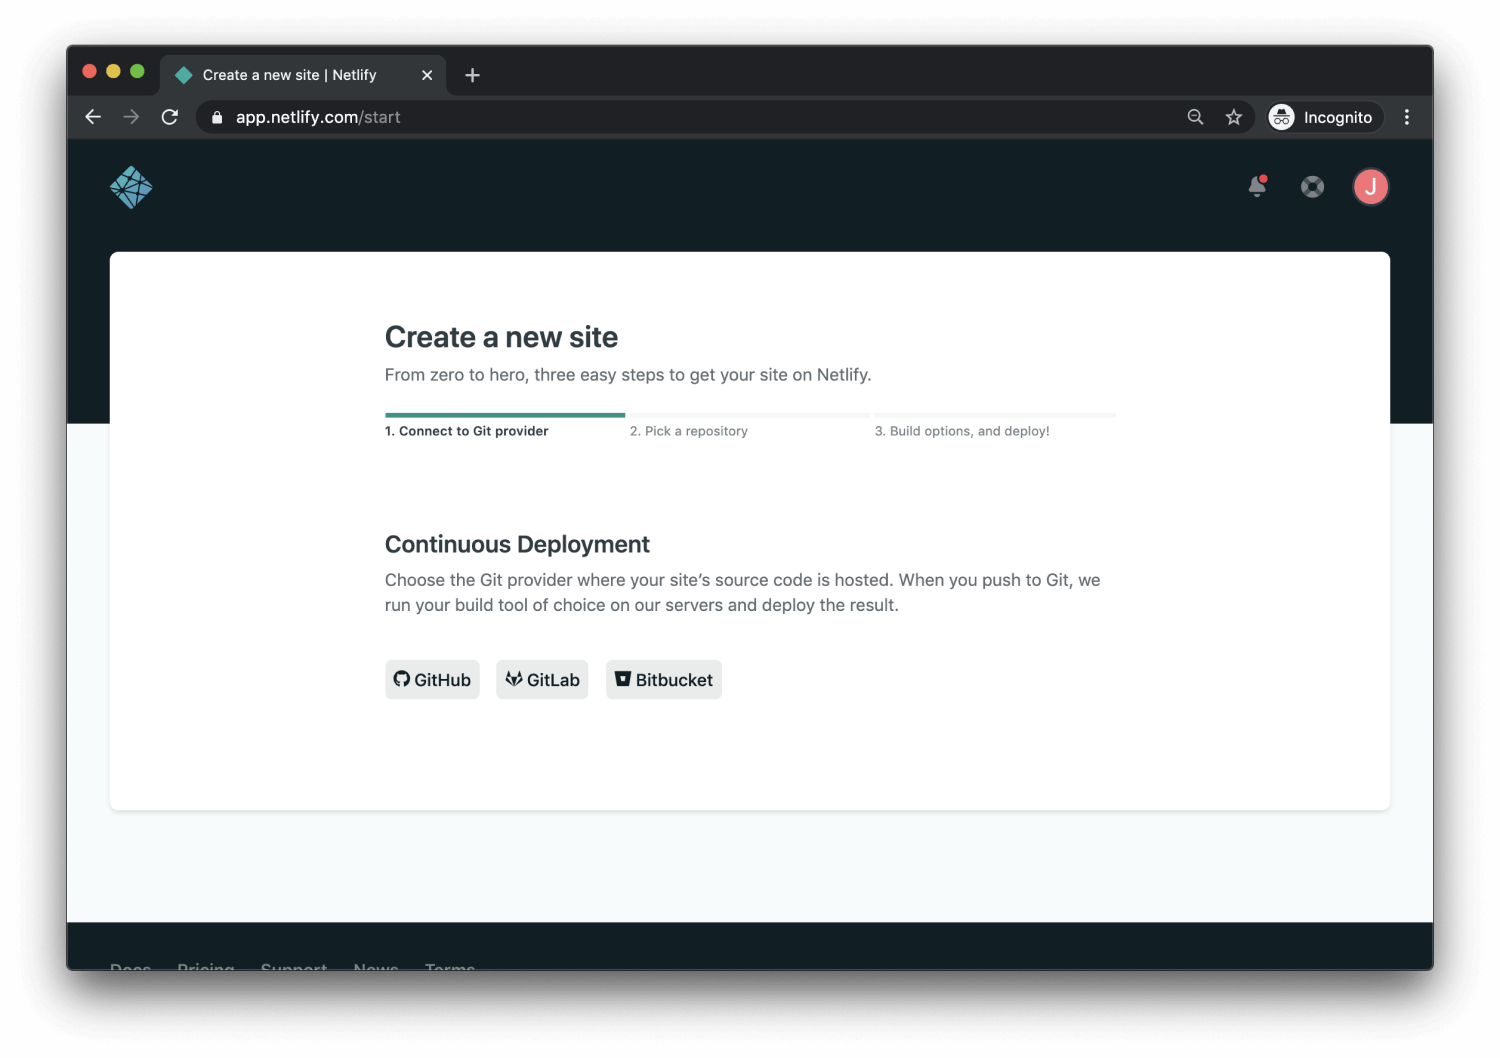
Be sure to push your repo to GitHub, so that all we’ll need to do is link Netlify to GitHub. Click the GitHub button as illustrated in the screenshot above.
Step 3: Authorize Netlify
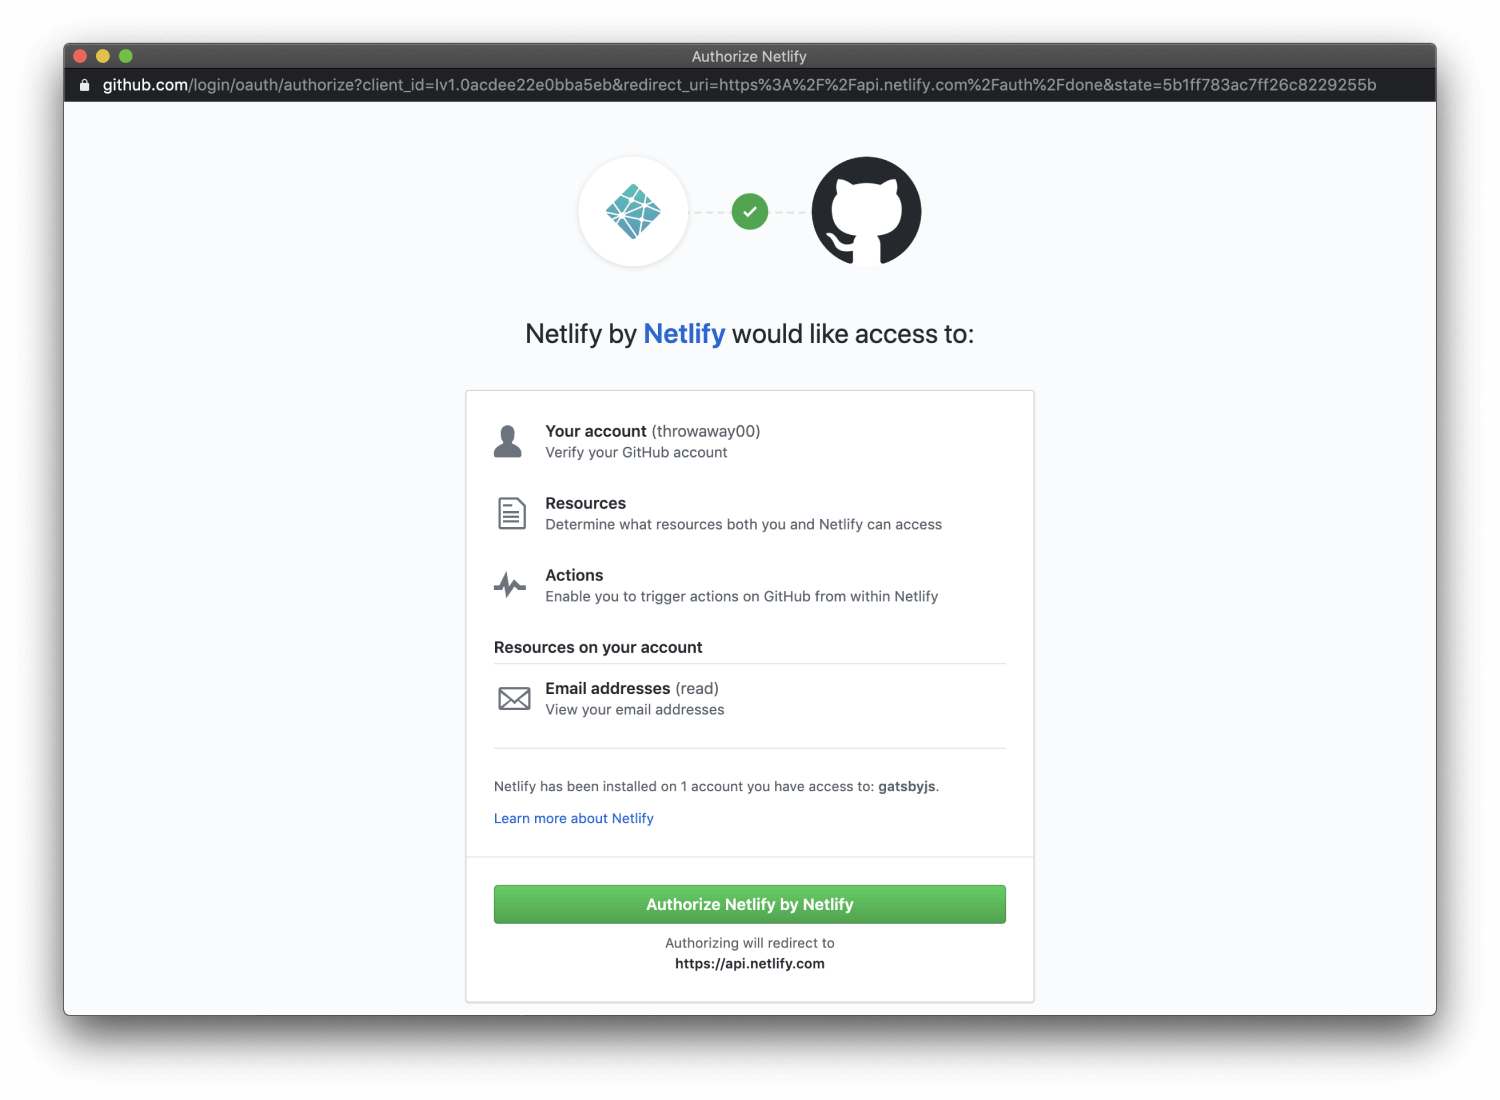
It’s time to allow Netlify and GitHub to talk to each other. Clicking the Authorize Application button will do just that. Like it says in the image below, Netlify doesn’t store your GitHub access token on our servers. If you’d like to know more about the permissions Netlify requests and why we need them, you can visit our documentation on Git provider permissions.
Step 4: Select Your Repo
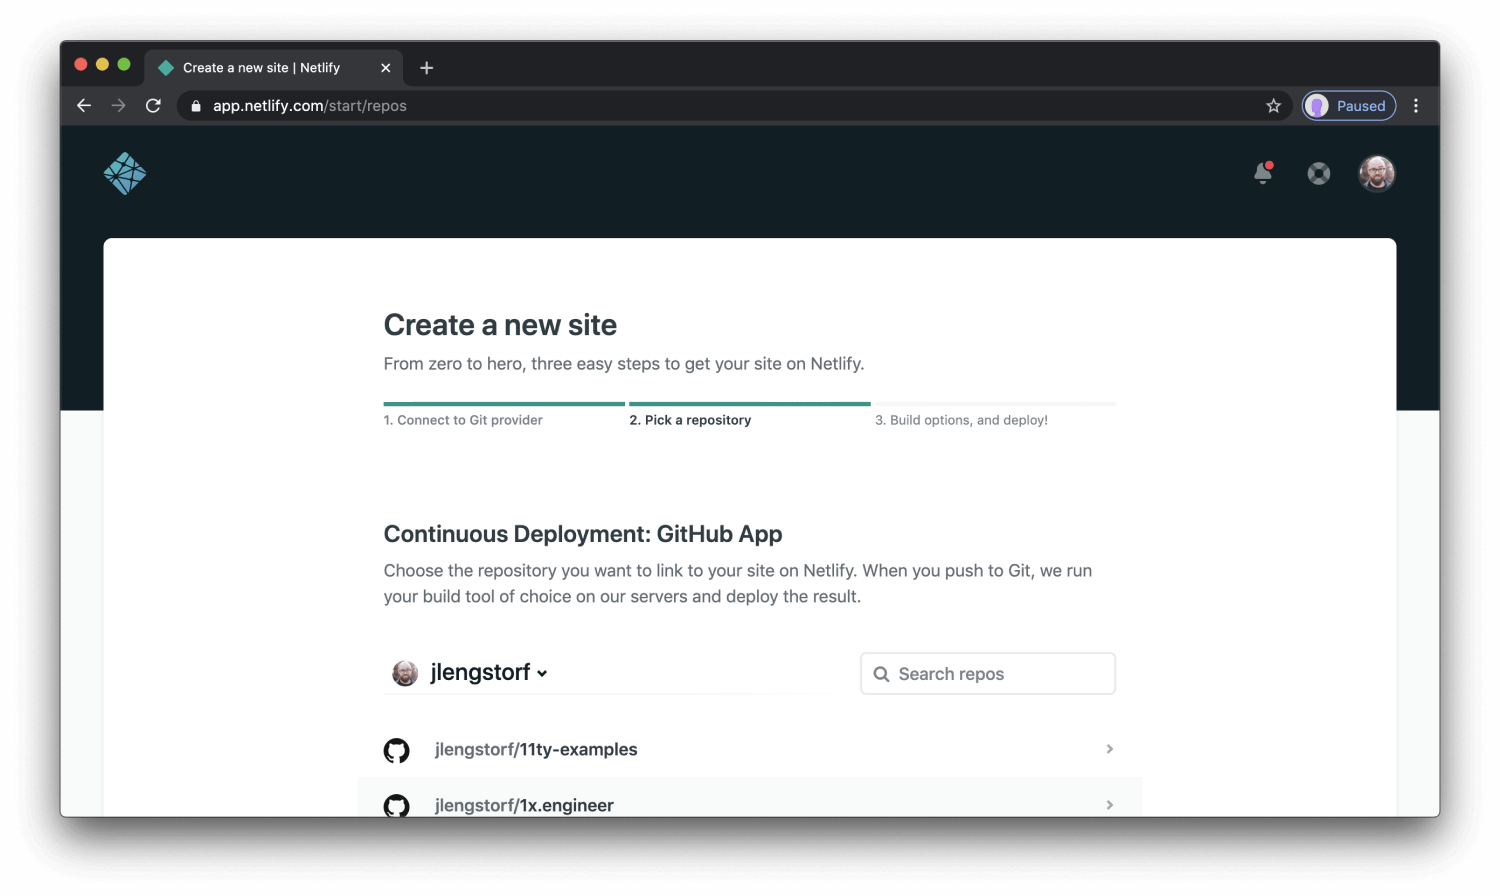
Now that you’ve connected Netlify and GitHub, you can see a list of your Git repos. Choose the repo you would like to deploy from the list.
Step 5: Configure Your Settings
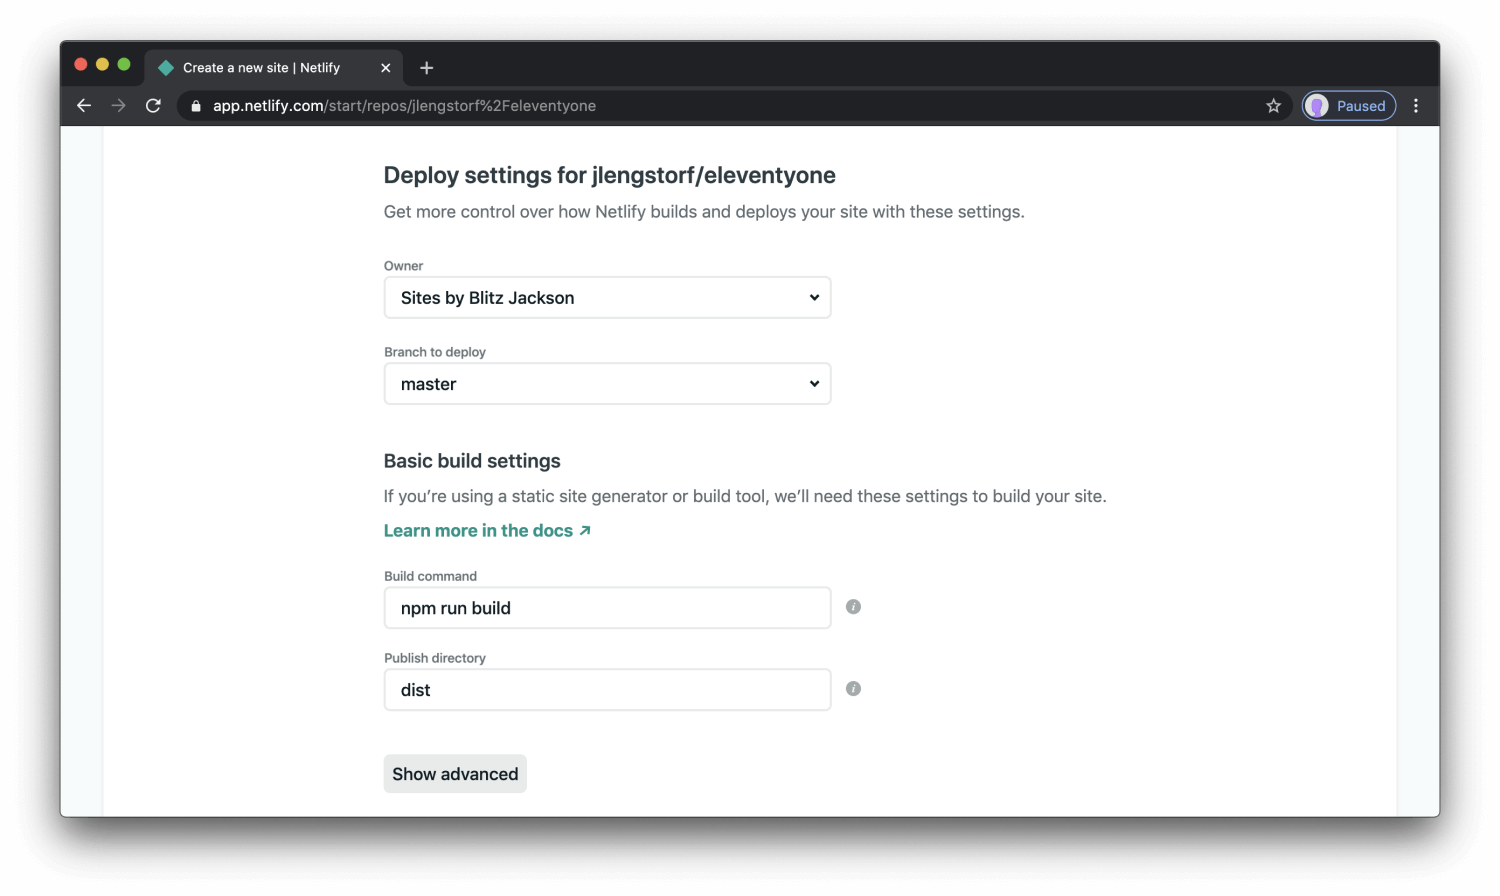
Here you can configure your options (if necessary). When your satisfied with your configurations, click the Build your site button to continue.
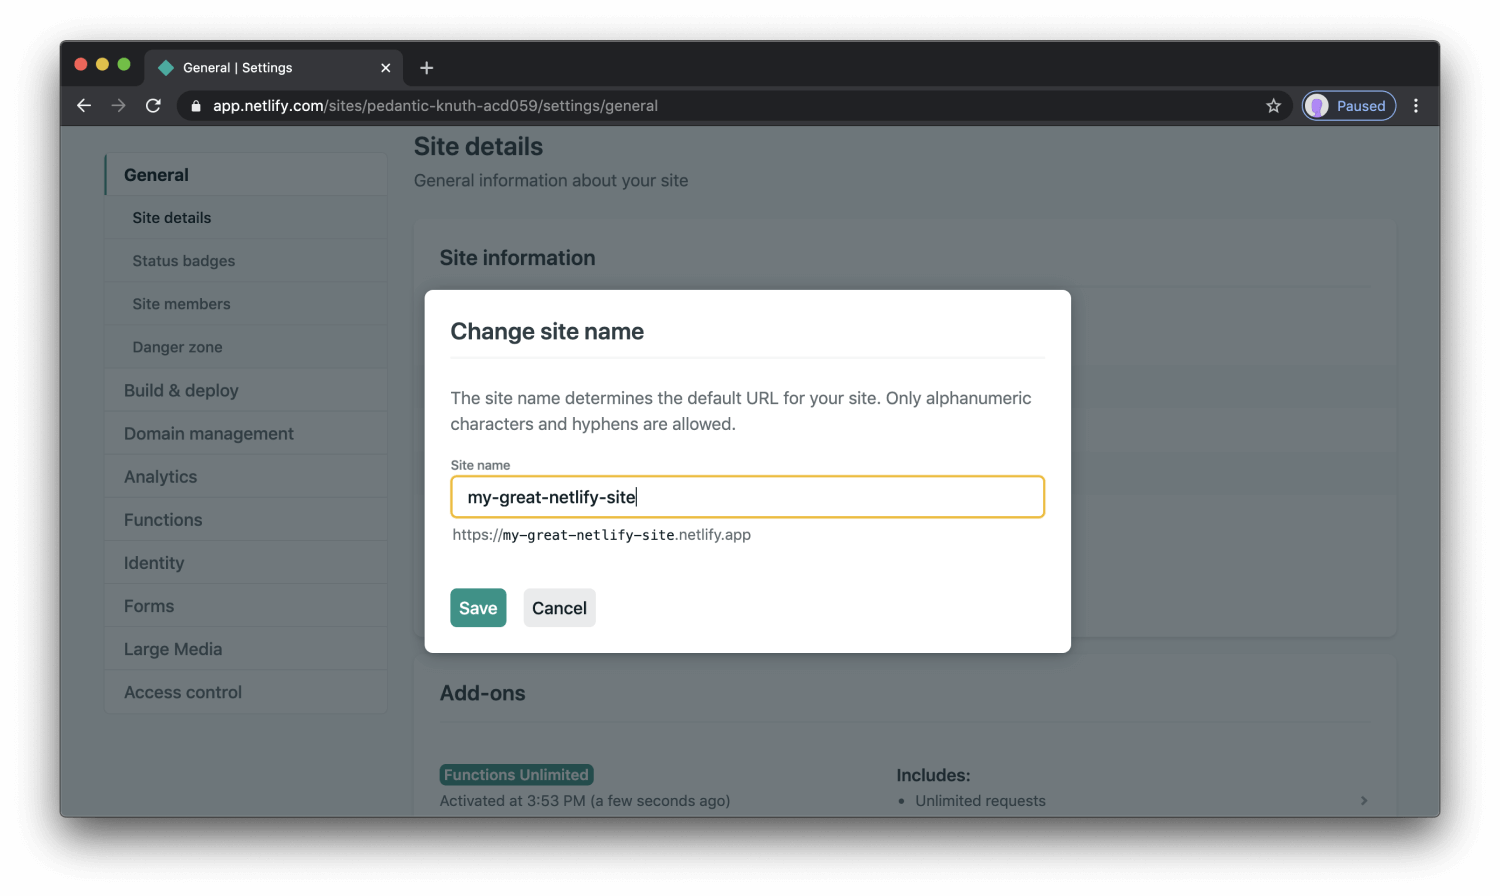
Step 6: All Done

Netlify went ahead and gave your site a very weird name. Let’s quickly update that to make it look a little prettier by clicking the settings tab and then clicking on change site name
step 7 - pretty
BOOM! You now have your site hosted on Netlify. Pretty easy, Wasn’t it?
Thank you for reading and don't forget to follow this blog fore more helpful tips in your programming journey.
YOUR CODING PARTNER, SON OF ZION.